
In this tutorial, we create a small website made completely of static files. The simplicity of the project will allow us to focus on the mechanics of the PyHPy build process.
To be honest, if your project consists only of static files, PyHPy might not seem too useful. The real value of PyHPy will become obvious once we start generating output dynamically in the next tutorial. Until then, this pure-static example might feel a bit contrived.
Creating a Blank Project
In the previous tutorial, we created a project based on the PyHPy example site. This time, we will create a blank project:
mkdir -p ~/staticSite
cd ~/staticSite/
curl http://pyhpy.likebike.com/pyhpy-latest.tar.gz | tar x    # Download PyHPy
cp pyhpy/Makefile.example Makefile
mkdir input            # Just create a blank 'input' directory.
Adding Files
To add files to your project, just place them into the input/ directory. To keep things simple, let's just create a couple HTML pages that link to each other, and one extra file that we'll use in a moment:
cd ~/staticSite/
echo 'This is the home page.  <a href="page2.html">Go to page2.</a>' >input/index.html
echo 'This is page2.html.  <a href="/">Go to the home page.</a>' >input/page2.html
echo 'We will delete this file soon.' >input/delme.txt
The Build Process
If we build the project at this point, here's what happens:
$ cd ~/staticSite/
$ make

rsync -vaHAX --info=flist0,stats0 /home/user/staticSite/input/ /home/user/staticSite/.build
created directory /home/user/staticSite/.build
./
index.html
page2.html
delme.ttxt

PYHPY_BUILD_MODE=dev ACL_CHECK=0 AUTO_RM=1 python2.7 /home/user/staticSite/pyhpy/bin/pyhpy_build "/home/user/staticSite/.build" "/home/user/staticSite/output/dev"
Copying Normal File: 1456307892.915 > 0
        /home/user/staticSite/.build/index.html  -->  /home/user/staticSite/output/dev/index.html
Creating Directory:
        /home/user/staticSite/output/dev
Copying Normal File: 1456307895.139 > 0
        /home/user/staticSite/.build/page2.html  -->  /home/user/staticSite/output/dev/page2.html
Copying Normal File: 1456307895.139 > 0
        /home/user/staticSite/.build/delme.txt  -->  /home/user/staticSite/output/dev/delme.txt

Built Successfully!  Output is at: /home/user/staticSite/output/dev
The build completed successfully, as shown by the last line ("Build Successfully"). Here's a summary of what happened:
- The
rsynccommand copiesinput/to.build/. - The
pyhpy_buildscript goes through each file in.build/, and recursively performs actions based on the file type (note, all actions are lazy -- they only occur if something has changed):xyz.md(MarkDown text) is rendered toxyz.mako(Mako template).xyz.mako(Mako template) is rendered toxyz.- Filenames beginning with [ '.', '_' ] or ending with [ '.swp', '.pyc', '.meta' ] are ignored.
- All other files are copied to the output destination.
- The
makecommand produces a development version of the project inoutput/dev/. Once you are happy with the output, usemake prodto produce a production version inoutput/prod/.
Here's a listing of the output that was produced. Not surprisingly, it's just a copy of our input files:
$ ls output/dev/
delme.txt  index.html  page2.html
Making an Update
Let's add one more file (an image) and edit one of the HTML pages:
cd ~/staticSite/input/
wget 'https://www.redditstatic.com/icon.png'
echo ' <img src="icon.png" />' >>page2.html
Now let's re-build the project:
$ cd ~/staticSite/
$ make

rsync -vaHAX --info=flist0,stats0 /home/user/staticSite/input/ /home/user/staticSite/.build
./
icon.png
page2.html

PYHPY_BUILD_MODE=dev ACL_CHECK=0 AUTO_RM=1 python2.7 /home/user/staticSite/pyhpy/bin/pyhpy_build "/home/user/staticSite/.build" "/home/user/staticSite/output/dev"
Copying Normal File: 1327014419.0 > 0
        /home/user/staticSite/.build/icon.png  -->  /home/user/staticSite/output/dev/icon.png
Copying Normal File: 1456314184.42 > 1456307895.139
        /home/user/staticSite/.build/page2.html  -->  /home/user/staticSite/output/dev/page2.html

Built Successfully!  Output is at: /home/user/staticSite/output/dev
Here's another listing of the output:
$ ls output/dev/
delme.txt  icon.png  index.html  page2.html
Removing / Renaming Files and Performing a Complete Rebuild
Let's remove that delme.txt file and see what happens if we re-build:
$ cd ~/staticSite/
$ rm input/delme.txt
$ make

...nothing much happens.
Here's another listing of the output:
$ ls output/dev/
delme.txt  icon.png  index.html  page2.html
Notice that delme.txt is still in output/ even though we deleted it from input/. The PyHPy build process does not automatically propagate file deletions or renames. This is a situation when we need to perform a complete rebuild, using the make clean command:
$ cd ~/staticSite/
$ make clean
$ make

...
...Finally, the output is what we expect:
$ ls output/dev/
icon.png  index.html  page2.html
So, always remember: if you are getting unreasonable outputs, try resetting the build with make clean. This will become more important once we start using dynamically-generated content in the next tutorial.
Using the Development Web Server
It is possible to view webpages directly from the filesystem, using file:// URLs. However, this is far from ideal, since links will usually break and resources (like images, CSS, JS, etc.) usually won't be found. The tiny website we created in this tutorial exhibits this problem: On page2.html, we link back to the home page using a URL of "/". When the page is viewed from the filesystem, this link will take us to the wrong place:
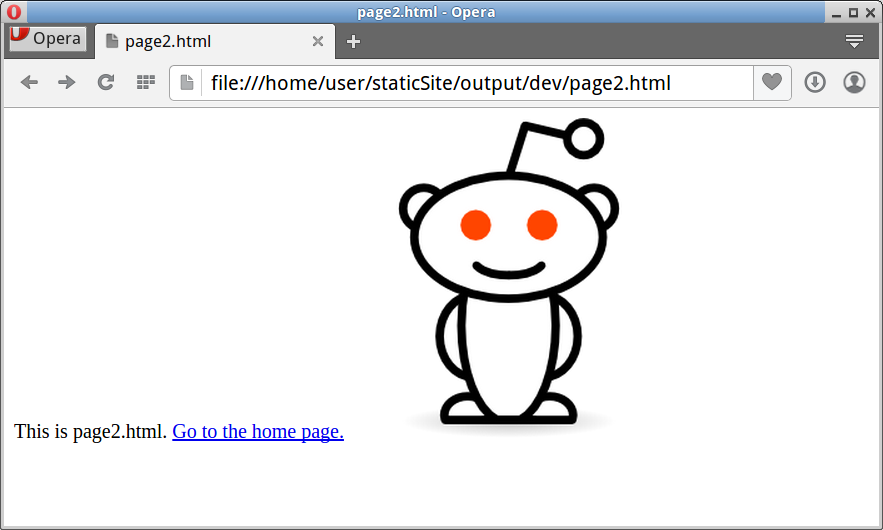 | 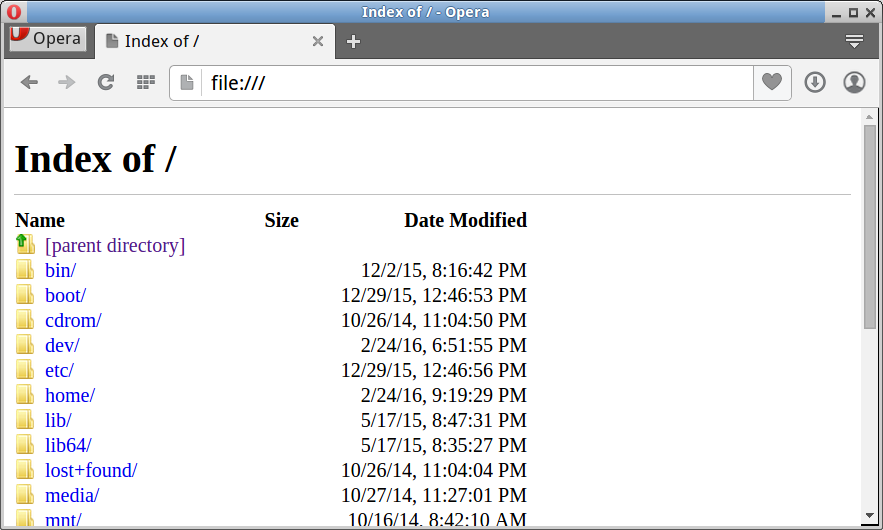 |
For a website to really work properly, it needs to be served from a web server with the http:// protocol. PyHPy provides a basic web server so you can view your project output while doing local development. To run the server, open a new command line terminal and run this:
cd ~/staticSite/
make server
After the server is running, our website can be viewed at http://127.0.0.1:8000/ . The link on page2 works properly now:
 | 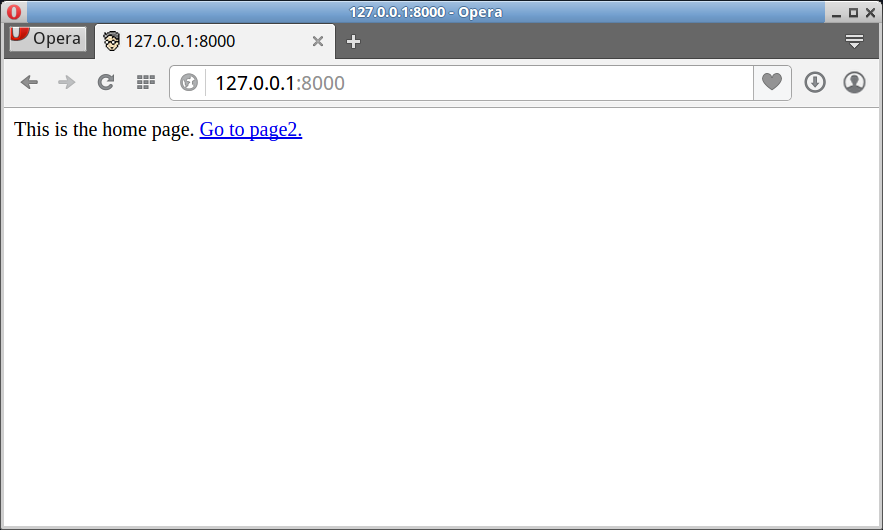 |
By default, the development server binds to port 8000 and serves files from the output/dev/ directory. You can customize these values with the WWW_PORT and WWW_DIR variables. For example:
cd ~/staticSite/
make server WWW_PORT=8888 WWW_DIR=output/prod/
Running a Production Build
Once you are happy with the results, you can make a permanent copy of the project with the make prod command:
$ cd ~/staticSite/
$ make prod

...

PROD Built Successfully!  Output is at: /home/user/staticSite/output/prod
Here is what happens when you run make prod:
-
A full development build is performed and ACL file attributes are propagated to the output. (
input/is copied to.build/, then rendered tooutput/dev/, preserving file attributes between each step.) -
The
output/dev/directory is then copied tooutput/prod-$TIMESTAMP/, where$TIMESTAMPis like20160225231500. -
The
output/prodsymlink is updated to point at the newly-created directory.
The end result is an output/ directory that looks like this (after running make prod several times):
$ cd ~/staticSite/
$ ls -l output/
drwxrwxr-x 5 user user 4096  2月 25 18:20 dev
lrwxrwxrwx 1 user user   19  2月 25 18:02 prod -> prod-20160225180213
drwxrwxr-x 5 user user 4096  2月 23 08:35 prod-20160223083536
drwxrwxr-x 5 user user 4096  2月 24 14:22 prod-20160224142200
drwxrwxr-x 5 user user 4096  2月 25 18:02 prod-20160225180213
As you can see, production versions are kept permanently (or until you manually remove them), and the output/prod symlink always points to the latest production version. This structure allows you to easily view previous versions of your project. For example, you can run make server in one terminal and make server WWW_PORT=8001 WWW_DIR=output/prod-20160224142200 in another to compare your development site to a previous production version.
Uploading the Results
After producing a production version of your site, upload it to your webserver using a file transfer tool like rsync (or even FTP if you really must):
cd ~/staticSite/
rsync -Paz output/prod/ user@host.com:path/to/htdocs/